How to Make Jeans Looser Around the Waist
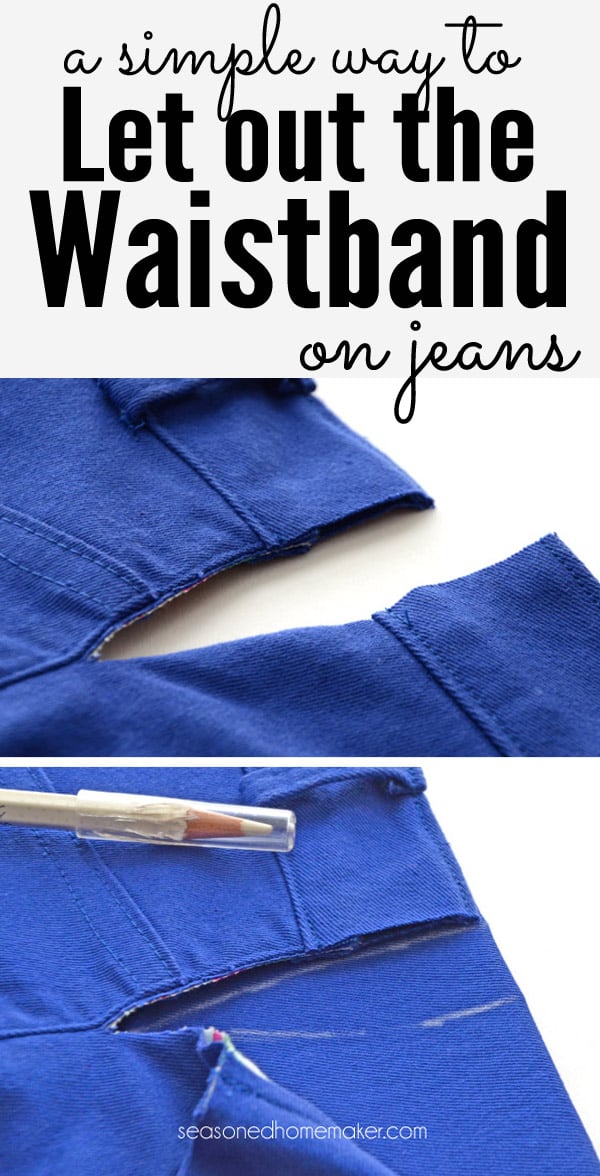

Inside: How to Let Out a Waistband on Jeans
Do you own a pair of jeans that are alittle snug through the waist? Me too! Worry not, my friends, because today I'm going to show you How to Let Out a Waistband on Jeans.
This is so easy I almost feel like it doesn't need any words because photos will do the trick. While this method isn't polished, it is very effective. And, it only takes a few minutes.
I don't know about you, but unpicking a million stitches, adding a new waistband, etc. just doesn't work for me. This way of altering a waistband, while unpolished, is very effective; and it allows you to keep wearing a favorite pair of jeans. And, best of all, it will save you a few dollars.
How to Let Out a Waistband on Jeans
Basic Sewing Supplies Needed
- Sewing Machine
- Scissors
- Water soluble pencil
- Pin Cushion
- All-purpose Thread
- Sewing Pins
- Iron & Ironing Board
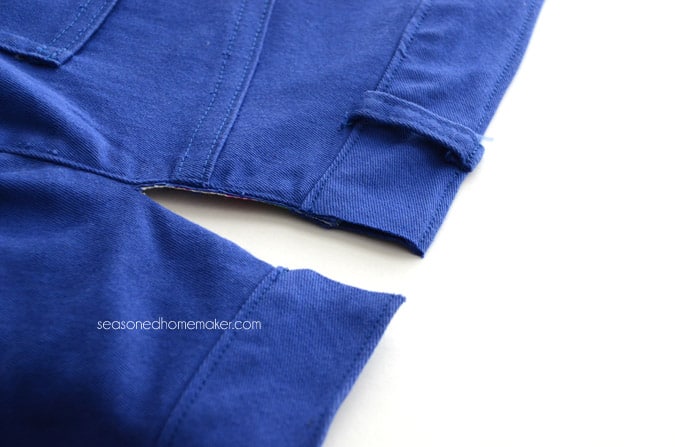
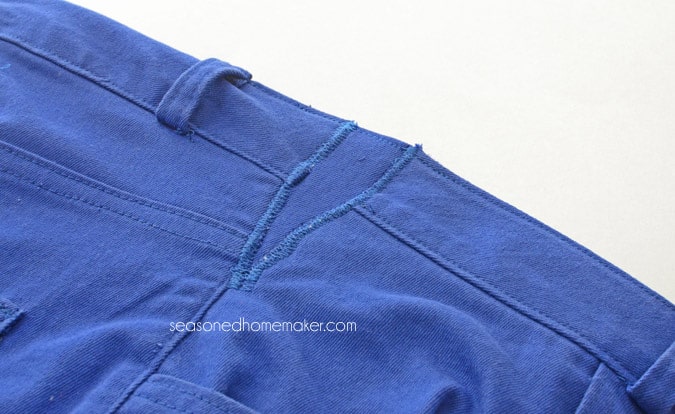
Step 1: Making the Cut
I measured my waist to determine exactly how much additional fabric I needed. In this case it was a little under 2″ – which means approximately 1″ at each side seam.
At the side seams I cut down to the bottom of the back yoke. I did this because pants that are snug in the waist (on me) are usually a little snug through he tummy, too.
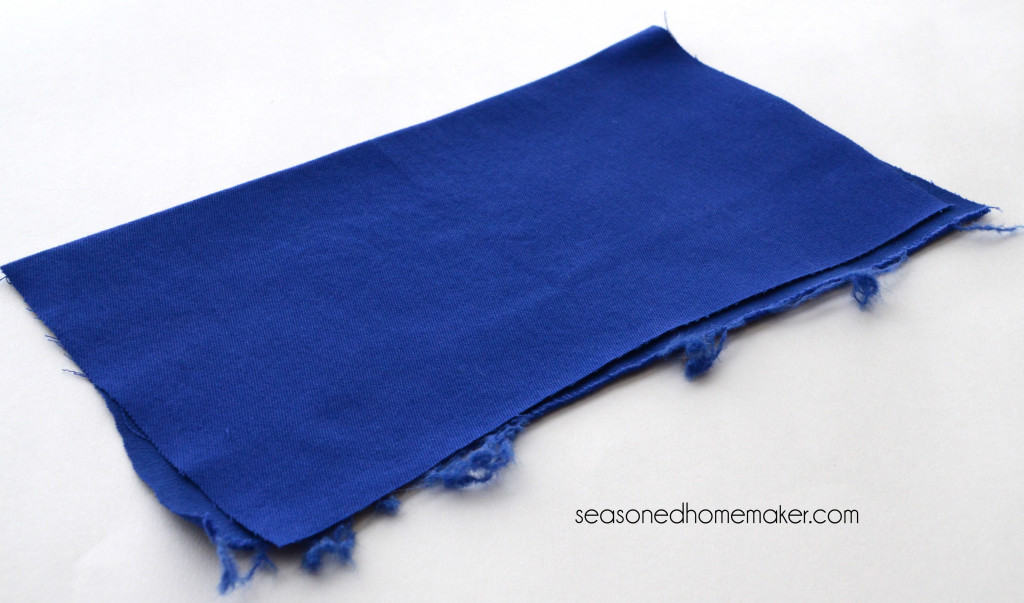
Step 2: Make Insert
These were pants I had previously made, so I had matching fabric on hand. However, if you are altering a pair of jeans you own, pop into your local fabric store and pick up a small piece of denim to use as your expansion fabric.
Fold the denim in half and be sure it is long enough to fill the opening.
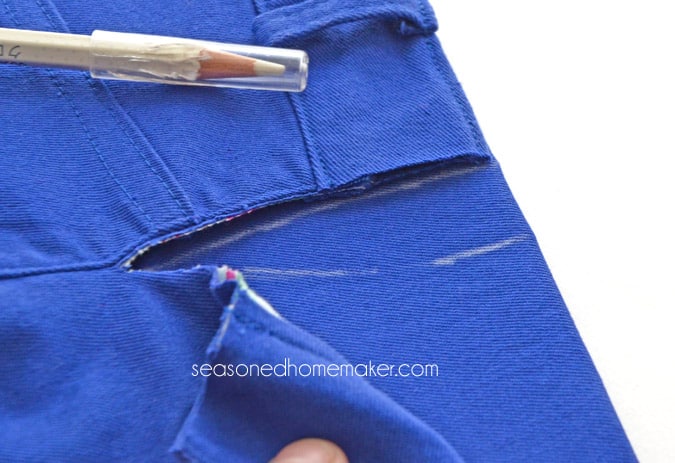
Step 3: Mark the Insert
I used a water soluble fabric marker, but any fabric marker would work. Mark the opening onto the expansion fabric. Repeat on the other side.
Step 4: Finish Insert Edges
Cut down the size of the expansion fabric and finish the raw edges. I used my serger, but folding it under and top stitching works, too. What you want are clean edges. Make one of these for each side of your jeans.

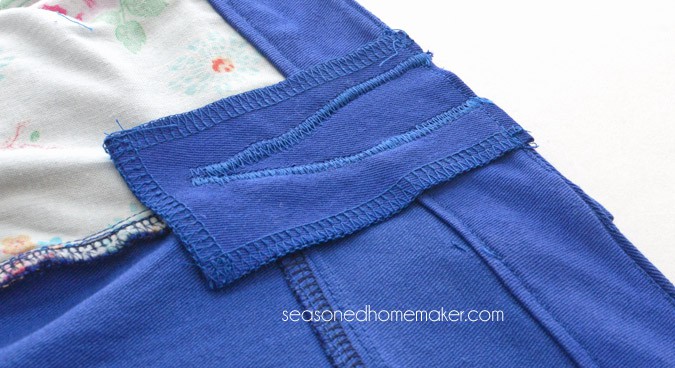
Step 5: Pin Insert to Waistband
Your marking lines should still be visible. Line up the side seam opening with expansion fabric markings. Pin in place to hold.

Step 6: Stitch Down Insert
Zigzag stitch the two pieces of fabric together. I increased the width of my zigzag and lowered the stitch number. It's almost like an appliqué stitch ~ very dense. Repeat on the other side.

Step 7: Finished!
That's all there is to it. How easy is that. I wear these jeans (actually capris) with a loose peasant-style top, so the side seam expansion never shows.
This is a very fast alteration that almost anyone can accomplish. There are ways to make the expansion a little more fancy, but I thought I'd show you a quick way to Let Out the Waistband on a pair of jeans that may otherwise have been sent to the thrift shop.
One word of caution, it is easy to 'over-size' your waist here. When your expansion pieces are pinned in place, it is a good idea to machine baste them and then wear the pants for a few minutes. You wouldn't want to have to rip this out those zigzag stitches because the waist is now too big.
How to Make Jeans Looser Around the Waist
Source: https://www.seasonedhomemaker.com/how-to-let-out-a-waistband-on-jeans/
0 Response to "How to Make Jeans Looser Around the Waist"
Post a Comment